| How to Set
Up Your Email Settings:
Welcome to Leap's Email
System. Below are instructions on how to set up your new email
account with us. |
|
| 1. | Go to Outlook Express |
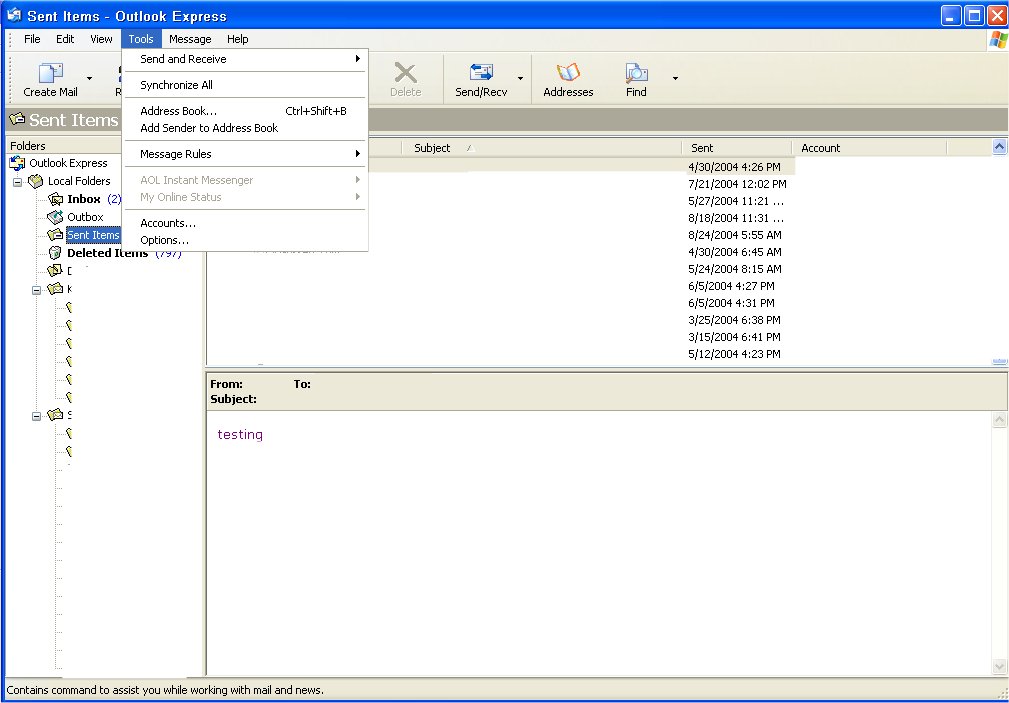
| 2. | Go to Tools -- which is located at the very top next to File Edit and View |
|
|
|
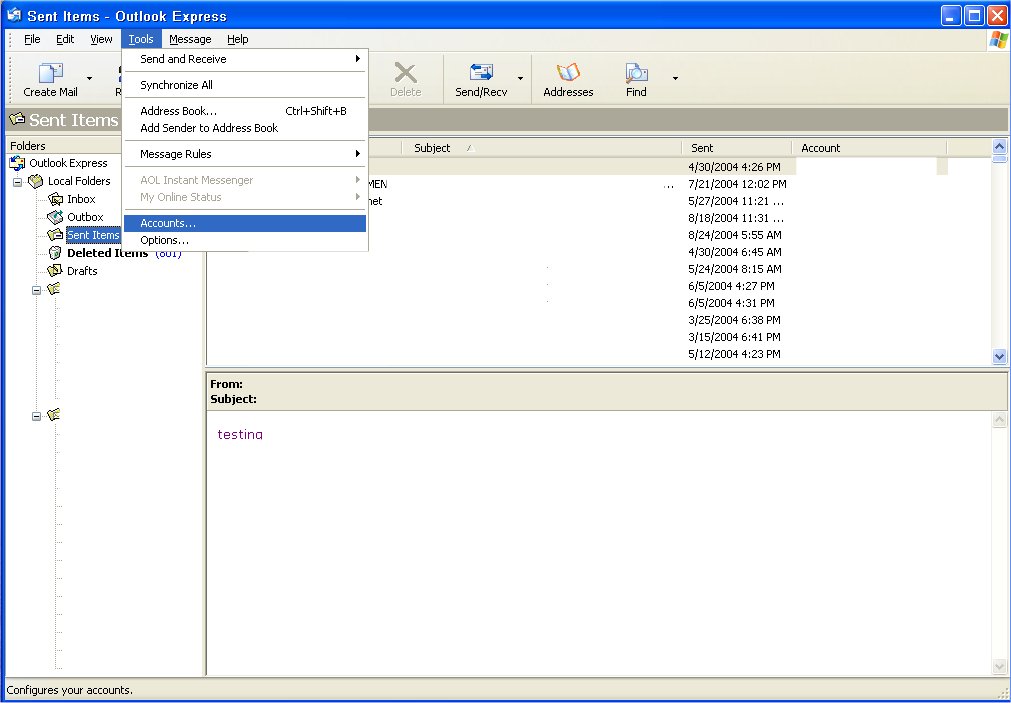
| 3. | Go to Accounts and click on it. |
|
|
|
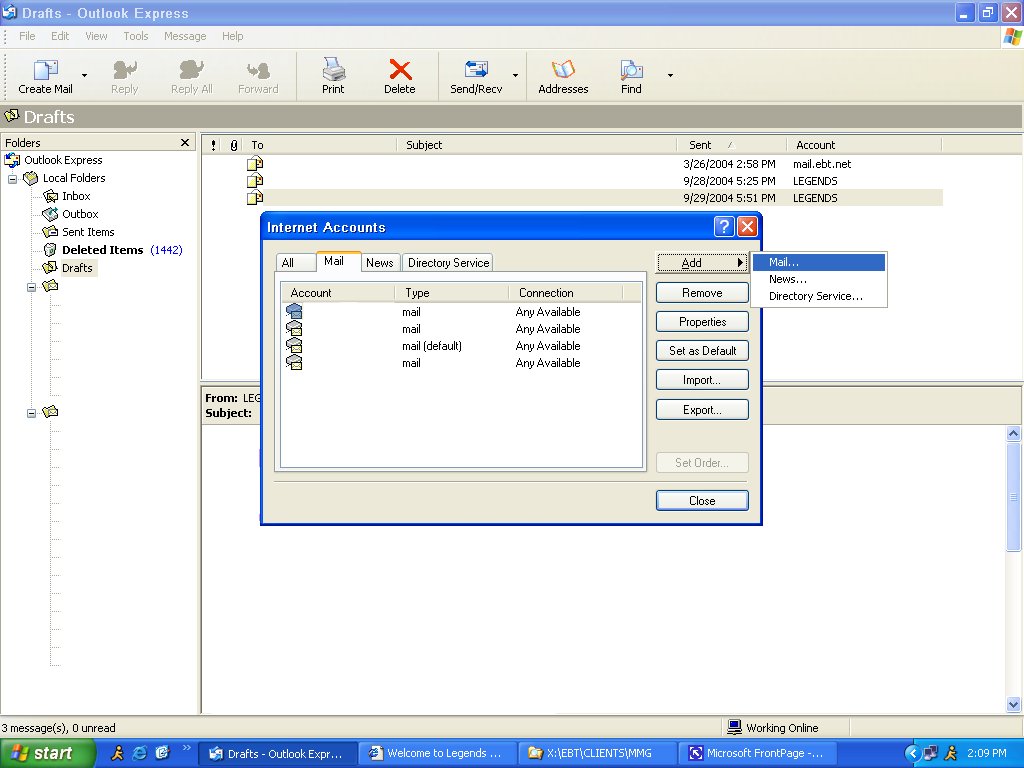
| 4. | Click on Add and then Mail |
|
|
|
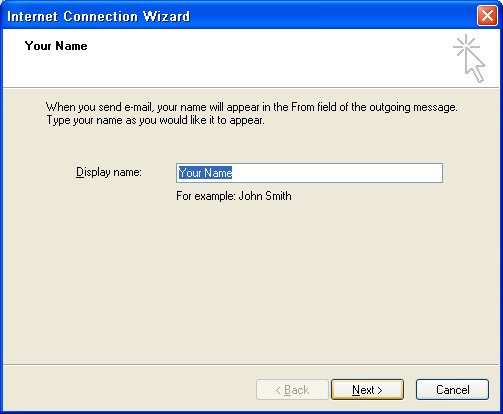
| 5. | A box will come up. Put in the name you would like to have when you send out your emails. - It can be the same as the one you already have. After you have entered that click Next. |
|
|
|
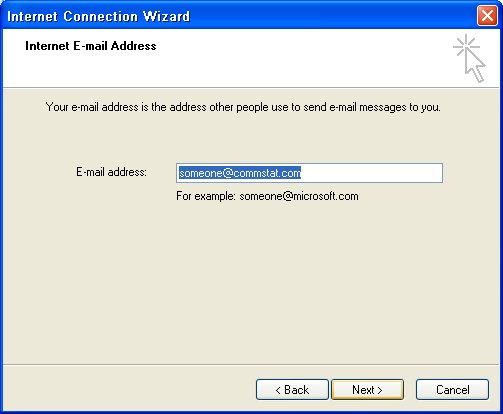
| 6. | Type in your email address. This will be the same one you already have. After you have typed that in click Next. |
|
|
|
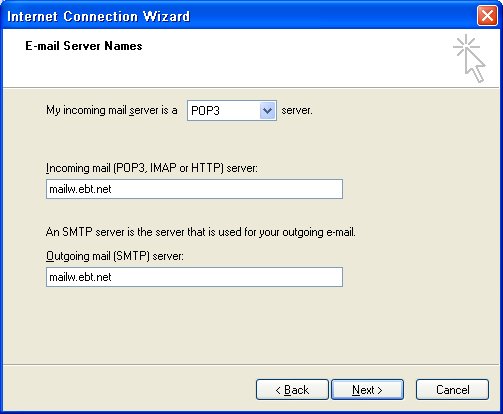
| 7. | Type in both the incoming mail server and outgoing mail server: mailw.ebt.net once you have typed both in click next. |
|
|
|
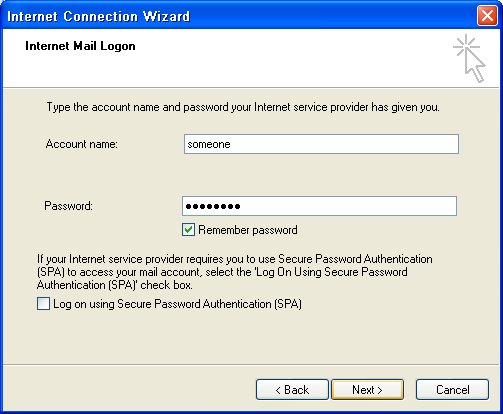
| 8. | Type in your new account name (it should be different than the account you have now). Type in your new password (alphanumeric and at least six characters). Make sure Remember Password is checked then click next. |
|
|
|
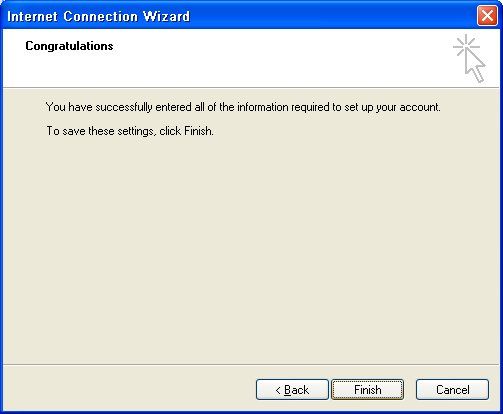
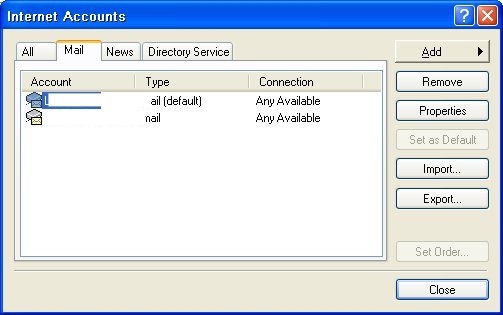
| 9. | Then you've come to the finish screen. Click Finish. It will take you back to the internet accounts. |
|
|
|
| 10. | Highlight your new Email Account and click the Properties button. |
|
|
|
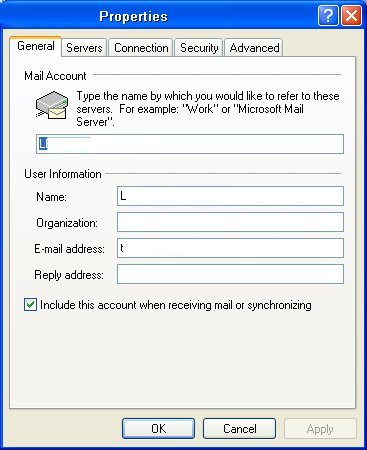
| 11. | Make sure that the General information such as the name you want to show up when you send email is correct as well as your email address. Also make sure that Include this account when receiving mail or synchronizing is checked. |
|
|
|
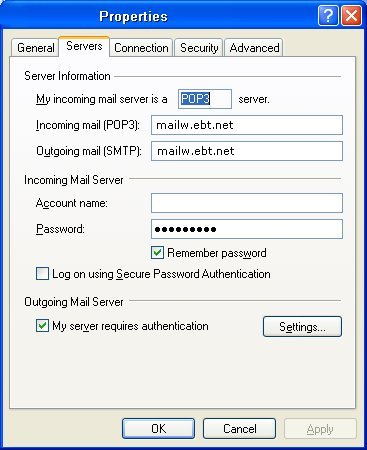
| 12. | Once that is correct go to the Server tab. |
|
|
|
| 13. | Make sure the Incoming Mail Server and Outgoing Mail Server (where it says mail3.ebt.net) reads: mailw.ebt.net |
| 14. | Under the Incoming Mail
Server Heading make sure the account name is what you've set up. Example: JSmith |
| 15. | You can re-type the password if your not sure you put in the correct one. |
| 16. | Then Click on the Settings button under the Outgoing Mail Server header. |
| 17. | Under the Logon Information
make sure: Use Same Settings as my incoming mail server is CHECKED! Again make sure that the round button has a dot in it! |
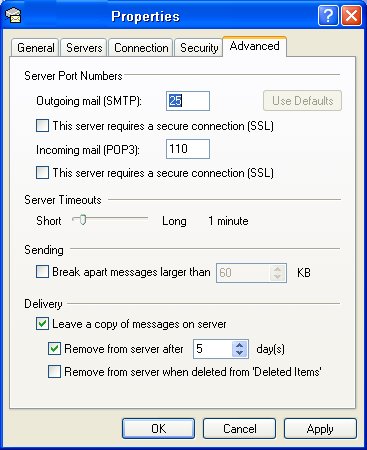
| 18. | Then click on the Advanced tab. |
|
|
|
| 19. | At the bottom under the Delivery section make sure: Leave a copy of messages on server is CHECKED! |
| 20. | Then maker sure that the: Remove from server after - Days (we recommend 5) is CHECKED! |
| 21. | Click Apply at the bottom. |
| 22. | Then Click OK |
| 23. | You can exit to your Outlook Express. |
| 24. | Now you can go to your Internet. Type in: http://mailw.ebt.net |
| 25. | Enter in your User Name and Password. They are the same as the ones you just entered. |
| 26. | Your mail is now both on the internet and your desktop. |